Thursday, 20 September 2012

Afternoon Tea, Coffee and Amaretto Cake

Coffee and Amaretto Cake.

Ingredients

3 Eggs
Unsalted Butter 115g
Caster Sugar 50g
Packed Brown Sugar 220g
Plain Flour 290g
Coco Powder 65g
Baking Powder 1 and 1/2 tsp
Coffee (I mixed up a jug with instant coffee and boiling water) 180ml
Amaretto 180ml

Frosting
Unsalted Butter 100g
Icing Sugar 450g
Coco Powder 3 Table spoons
Coffee 3 Table Spoons
Amaretto 3 Table Spoons (or if your like me a hefty splash)

Method
Cream butter and sugars together, In a separate bowl mix together flour coco and baking powder Sift this dry mix and stir  the eggs in gradually to the butter and sugar. Then stir in the coffee and Amaretto this mixture is quite a wet one so don't be concerned that it doesn't look like a conventional cake mix, but do ensure the ingredients are well combined. I baked this mixture in 2 tins at gas mark 3 for 25-35 mins. Cake should bounce back and if you stick test the skewer should be clean.

While cake is cooling, you can mix the frosting, I have been a bit blender happy lately but the wooden spoon method  is fine. Cream together the butter and icing sugar and coco powder (don't be scared to just get your hands in there and really mush it up) then stir in the coffee and amaretto. You may need more than the 3 table spoons of each but before adding more liquid make sure ingredients are well combined, mixture should be smooth enough to spread but dry enough to stick to the back of a spoon. (I blended the frosting and then got the electric whisk out and kicked its ass)
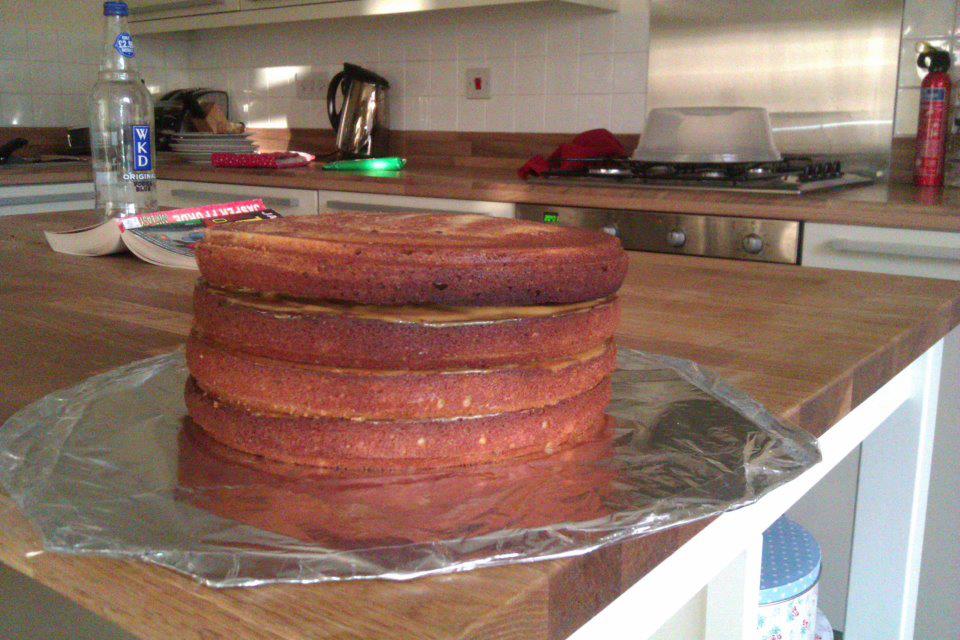
Assembly
Stick the two cake halves together using frosting and then frost the top and sides (super easy)

I am not a coffee fan, but have had excellent feed back for this cake, having been told it is soft and moist and great for afternoon tea.

Wednesday, 5 September 2012

Chocolate chocolate cheese cake 


Ingredients 
175g digestive biscuits 
50g unsalted butter
100g dark chocolate
200g milk chocolate
200g mascarpone 
100g Philadelphia
200g greek yogurt 
100g caster sugar

Prepare the base
Crumble up the biscuits (I used a blender but a sandwich bag and a rolling pin works) melt the butter (30 seconds in the microwave on low is fine) mix these together and then press firmly in to your cheesecake tin/dish with a metal spoon. Stick it in the fridge to cool.

The gooey bit
Mix together the Greek yogurt and caster sugar add the mascarpone and Philadelphia stir well. Melt the milk chocolate. The best method for this is to break up the chocolate in a bowl and heat over a saucepan of water  don't get water in the chocolate don't let the bowl  touch the water in the sauce pan and try not to burn it, stir continuously then add to the yogurt cheese mix and mix in well.
 Take the base out the fridge and smooth the cheese topping over the biscuit.
  Now melt the dark chocolate once melted drizzle this over the top of the cheese mix swirling into a pattern of your choice then chill for a couple of hours and enjoy. 


Friday, 24 August 2012


CADBURY GANASH CUPCAKES


Ingredients

170g unsalted butter
170g soft brown sugar
110g self raising flour
85g chocolate powder (I used Cadbury's Bournville coco powder) 
3 eggs
hot water

Ganash
140g chocolate (I used Cadbury's Dairymilk and if you buy a big bar there is enough to make the frosting and pinch a bit to) 
150ml double cream


Method 
Cream together the butter and sugar, in a separate bowl measure out the flour and coco powder. Add the flour/coco mixture to the butter/sugar mixture slowly with the egg  a table spoon or two at a time stirring well  in between adding. This is a super easy sponge mixture to make it is very quick, add a little hot (not boiling) water to moisten depending how stick and wet you like your cake i would recommend  3 table spoons. You can add chocolate chips if you want that extra chocolate but it really doesn't need it. Also you can add orange juice instead of water or camp coffee or even peppermint for that something a little bit different. 
Put finished mixture into cupcake cases and tin then bake for 20-30 mins at 180 or gas mark 4
Stab with sharp pointy thing to make sure they are cooked all the way through and leave to cool (covering for cooling helps keep in the moisture) 

Whilst your waiting for your cupcakes to cool you can make the frosting break up the chocolate and melt in a bowl over a saucepan with just a little water in. (you don't want the water in the pan to touch the bowl) stir continuously and don't over heat (you want to melt not cook burnt chocolate is bad) once you have a smooth mixture you can take the chocolate off the heat and stir in the cream. DON'T PANIC the mixture will go a bit funny this is because you have added cold cream to hot chocolate just keep stirring the frosting will go creamy and smooth. This mixture is pretty much good to use but I like to put mine in the fridge for an hour or so to firm it back up a little (this makes it easier to use with a pipping bag or if your decorating a bigger cake it stays where you put it) For the cupcakes I used disposable pipping bags working from the center of the cake and spiraled outwards then finished with gold decorating sugar and edible silver balls. 

Special Note - Happy Birthday Sirlene. 


Sunday, 19 August 2012

Cake 4 CADS


Cake for CADS is a motivational tool used to encourage staff members to complete tasks.
The Staff member that completed the most tasks won a cake made by me.
The first Cake for CADS winner requested a chocolate cake.... here's what I came up with.


Four layer chocolate Caramel cake.

It is a monster, at least 1000 cals per slice and should most defiantly be shared for special occasion


For Vanilla and Chocolate sponge

225g very soft butter , plus extra for greasing
225g golden caster sugar
175g self-raising flour
85g ground almonds
1 tsp baking powder
3 eggs
150ml pot natural yohgurt
1 tsp vanilla extract
5 tbsp cocoa powder

For Caramel and Caramel-choc sponge

225g very soft butter , plus extra for greasing
175g light muscovado sugar
50g dark muscovado sugar
175g self-raising flour
85g ground almonds
1 tsp baking powder
3 eggs
150ml pot natural yohgurt
1 tsp vanilla extract
1 tbsp coco powder

To Assemble

397g can caramel (stocked near the condensed milk in stores)
140g dark chocolate
140g milk chocolate
300ml double cream


Instructions 

Heat oven to 180C/160C fan/gas 4. Grease and line bases of 2 x 20cm sandwich tins with baking parchment.
1. For the Vanilla & chocolate sponges, mix all the ingredients, apart from the cocoa. Scrape half the mix into a second bowl and add the cocoa. Scrape into the tins and bake for 20-25 mins until a skewer poked in comes out clean.
2.Repeat step 1 for the Caramel & caramel-choc sponges, again leaving cocoa out of the first mixing, then splitting the mix in half and adding the cocoa into one batch. Cook as above.
3.While sponges are cooling, melt the dark and milk chocolate together in a bowl over a pan of barely simmering water. Remove from the heat, stir in the cream and cool or chill until spreadable.
4.When the sponges are cool, spread a third of the caramel over the Vanilla sponge and top with the Caramel sponge. Spread over another third of the caramel and top with the Caramel-choc sponge, then the final third of caramel and top with the Chocolate sponge (don't panic if you mix up the layers, the cake will still look great when you cut in). Spread the chocolate icing over the whole cake to serve. It will keep in a cool place in an airtight container for up to 3 days.
Special Mention (recipe taken from BBC GoodFood website)


To finish I also added shaved chocolate and a couple of edible silver balls to make it look extra pretty. This is a great cake and I hope to make it again soon, I was concerned that adding yoghurt to a sponge mix would be a disaster as I've never heard of this before but it creates an awesome texture and if you keep to the tin measurements bakes perfectly. 


Sunday, 17 June 2012


Mom Birthday

Oreo and Blueberry Cheese Cake


Recipe
240 g OREO Original Cookies
40 g butter, melted
350 g Philadelphia Original
100 g caster sugar
2 tsp vanilla extract
250 ml Greek yogurt
1 sachet (11g) powdered gelatine
A few fresh Blue Berries
A few extra OREO cookies, broken into pieces


Place 160g of the Oreos in a food processor and process to a fine crumb.(or crush with a rolling pin inside a sandwich bag)  Add the butter and mix together. Press the mixture into the base of an 18cm spring form tin. (or oven proof flan dish) Roughly chop the remaining 80g cookies and set aside.
Put 3 tablespoons of water in a small basin and sprinkle on the gelatine. Stand the basin over a saucepan of hot water and heat gently until dissolved. (don't worry if it looks gross)
Beat together the Philly, sugar and vanilla until smooth. Then fold in the yogurt. Next stir in the gelatine.
Stir the set aside cookies through the filling then pour over the biscuit base. Refrigerate for 3 hours or until set.
Serve decorated with the fruit and biscuit pieces.

I added blueberries into the cream mix I highly recommend you DON'T do this.
This recipe has been slighly modified but pretty much comes straight from the Philadelphia website http://www.philadelphia.co.uk
They use Strawberries but as the cake was for my mummy and she has a strawberry allergy I made a fruit swap bet this would work well with banana also.

Happy 17th Birthday Emily
Vanilla Cup Cakes


Recipe
225g olive oil spread (Bertolli)
225g Self raising Flour
225g Caster sugar
4 eggs
1tsp Vanilla Extract

Cream together sugar and spread, add vanilla extract. Sift in flour and stir in eggs gradually until mixture is smooth and creamy. Bake in cake cases for 20-25 mins at 180C 
Easy Peesy recipe to follow, decorate as you please, I used a basic butter cream and fondant shapes.

Butter cream Recipe (olive oil spread alternative)
100g icing sugar 
100g olive oil spread
1tsp vanilla extract

Stir ingredients together until smooth and creamy (If you happen to over cream your mixture you can stick it in the fridge for half hour or so)
I used pre made fondant available in most super markets or at your local cake craft shop, and cookie cutters for the exact shapes. Also added edible silver balls for a little bit of sparkle. 

(side note) It is cool to use unsalted butter for this recipe, I however am very lazy and didn't want to walk to the shop so went with the what have I got in the fridge option.